Archives

All posts for the month October, 2013

The goal is to restore the T-bird to as near factory new as possible. That means disassembling  most of the car, de-rusting and repainting individual parts,  replacing worn out components, and reassembling.  Luckily, there is minimal body work required — there’s no frame damage, some minor dents and a few rust holes.  Body surfaces will be sanded, primed, and repainted, including the engine compartment, underside, and chassis.  Undercoat will  be applied inside fenders to reduce road noise and prevent future rust.

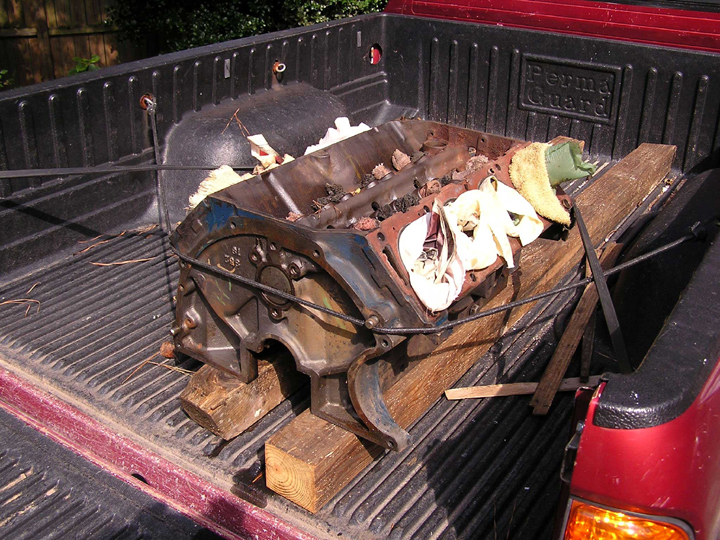
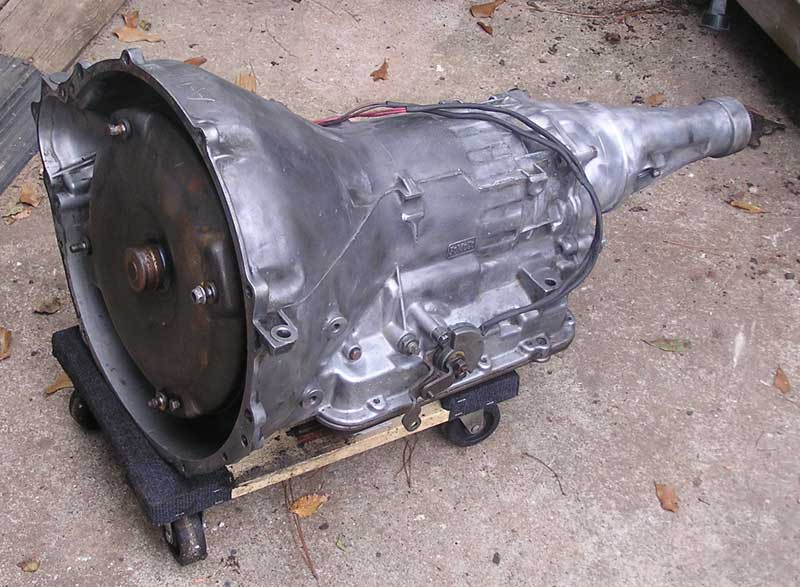
We recently removed and de-gunked the C6 automatic transmission, to be overhauled at a local trans shop.  Now the priority is to clean, prime, and paint the engine compartment so that the C6 and engine can be reinstalled.

c6

During the cleaning we noticed that the front stabilizer bar (sway bar) was bent.  Drive Line Service of Atlanta (770-242-9365) was able to partially straighten it for  $20.  However, we’re searching the web for a replacement part. (If anyone has a lead on one, please let me know.)

Another problem is that over time the battery leaked acid and rusted out the battery compartment, which will require some complicated metalwork to remedy.  We designed a metal insert using CAD software but still,  effecting a seamless repair will be a challenge.

Almost everything in the passenger compartment (seats, console, carpeting, etc.) were removed for rehab.  The seat covers are in good condition.  However the dashboard is severely sun-dried and cracked.  The vinyl door panels and headliner are also damaged from exposure and age.  Re-covering with new vinyl is not too difficult, but as of yet we haven’t been able to source vinyl that matches the original color.

Removed the dual exhaust pipes, which are in great condition.  Just need to be sanded and coated with high temperature paint.   The resonators and mufflers are rusted out and will be replaced with new.

OK, that about brings the project status up-to-date.  Future posts will feature work in progress.  Thanks for visiting.

The first major task was to remove the engine for overhaul.  As it turned out it wasn’t.   Turning, that is.  The engine was frozen, which made removal all the more difficult.  The last step requires removing the four nuts connecting the flywheel to the transmission torque converter, which requires rotating the flywheel to access the nuts, which was not possible.  What finally worked was to slide the engine forward just enough to create a narrow gap (about 1-2 inches) between the engine and trans, and then slip a wrench in to loosen the nuts.  Got them out after a day of frustration. Even so, one of the nuts had to be broken off.

After removing the engine and mounting it on an engine stand, the next task was disassembly.  Some of the pistons were rusted to the cylinder walls.  Those had to be removed by drilling several holes in the piston heads and collapsing them toward the center (using a cold chisel, a hammer, and delicate brute force) to relieve pressure against the cylinders.

oldpistons

Once extracted, the rest of the teardown was fairly easy.  Note that it is important to catalog parts referenced to their original locations if the parts are to be reused in the rebuilt engine.  This is especially important when extracting the push rods and hydraulic lifters.   Throughout the restoration it is good practice to collect and store parts in plastic sandwich bags with locations written on the bags with a Sharpie permanent marker pen.  Use string tags to identify both sides of all electrical and hose connections.   Take photos of large or complex assemblies before taking them apart to aid putting them back together.

block

After some internet research and phone calls, we stumbled upon a small racing shop that could re-bore the stripped engine block.  A machine shop referred us to Nabors Automotive (770-982-9821, TimNabors@bellsouth.net) in Snellville, GA, which  turned out to be an auspicious accident.  Owner Tim Nabors is experienced, highly knowledgeable, informative, and  helpful.  The work was high quality and not too expensive. Tim’s advice was priceless.  They vatted the block and crankshaft, re-bored the block to .030 over, and inspected the crank and cam (both reusable).  We ordered new pistons, rings, and bearings from Summit Racing and Nabors checked the pistons for fit and installed the new cam bearings.   He recommended tapping out the oil plug holes in the block and inserting hex screw plugs.  That’s safer than using the aluminum cap-type push-in plugs, which can potentially be installed crooked and leak.

Stay tuned, there’s more to cover to bring this current.  Cheers!