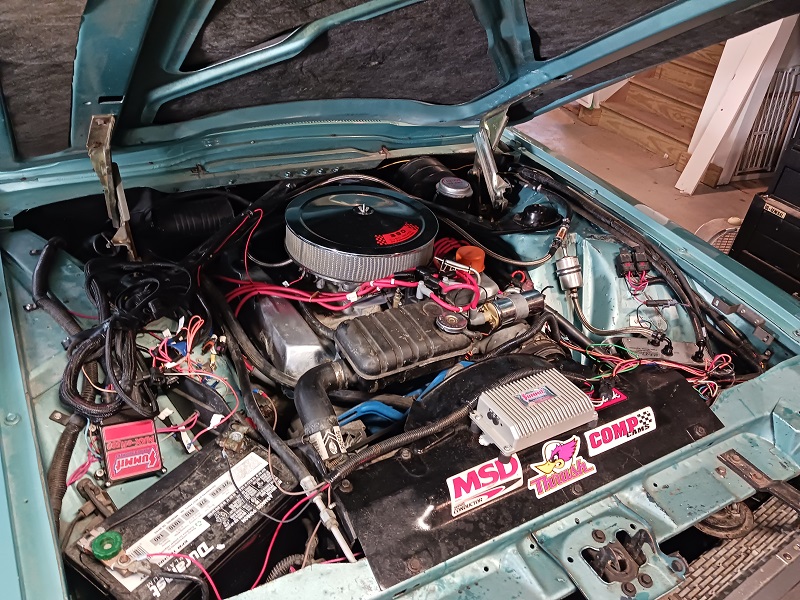
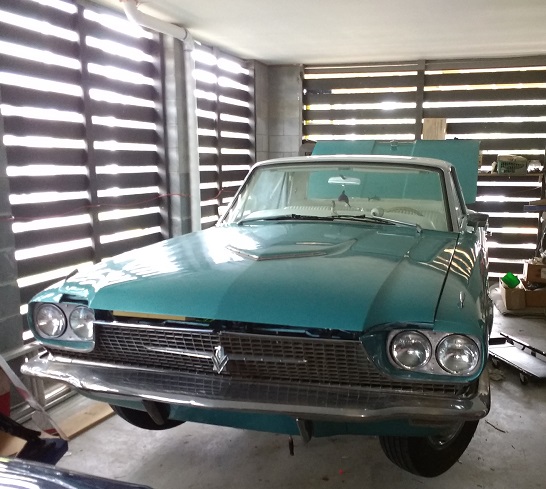
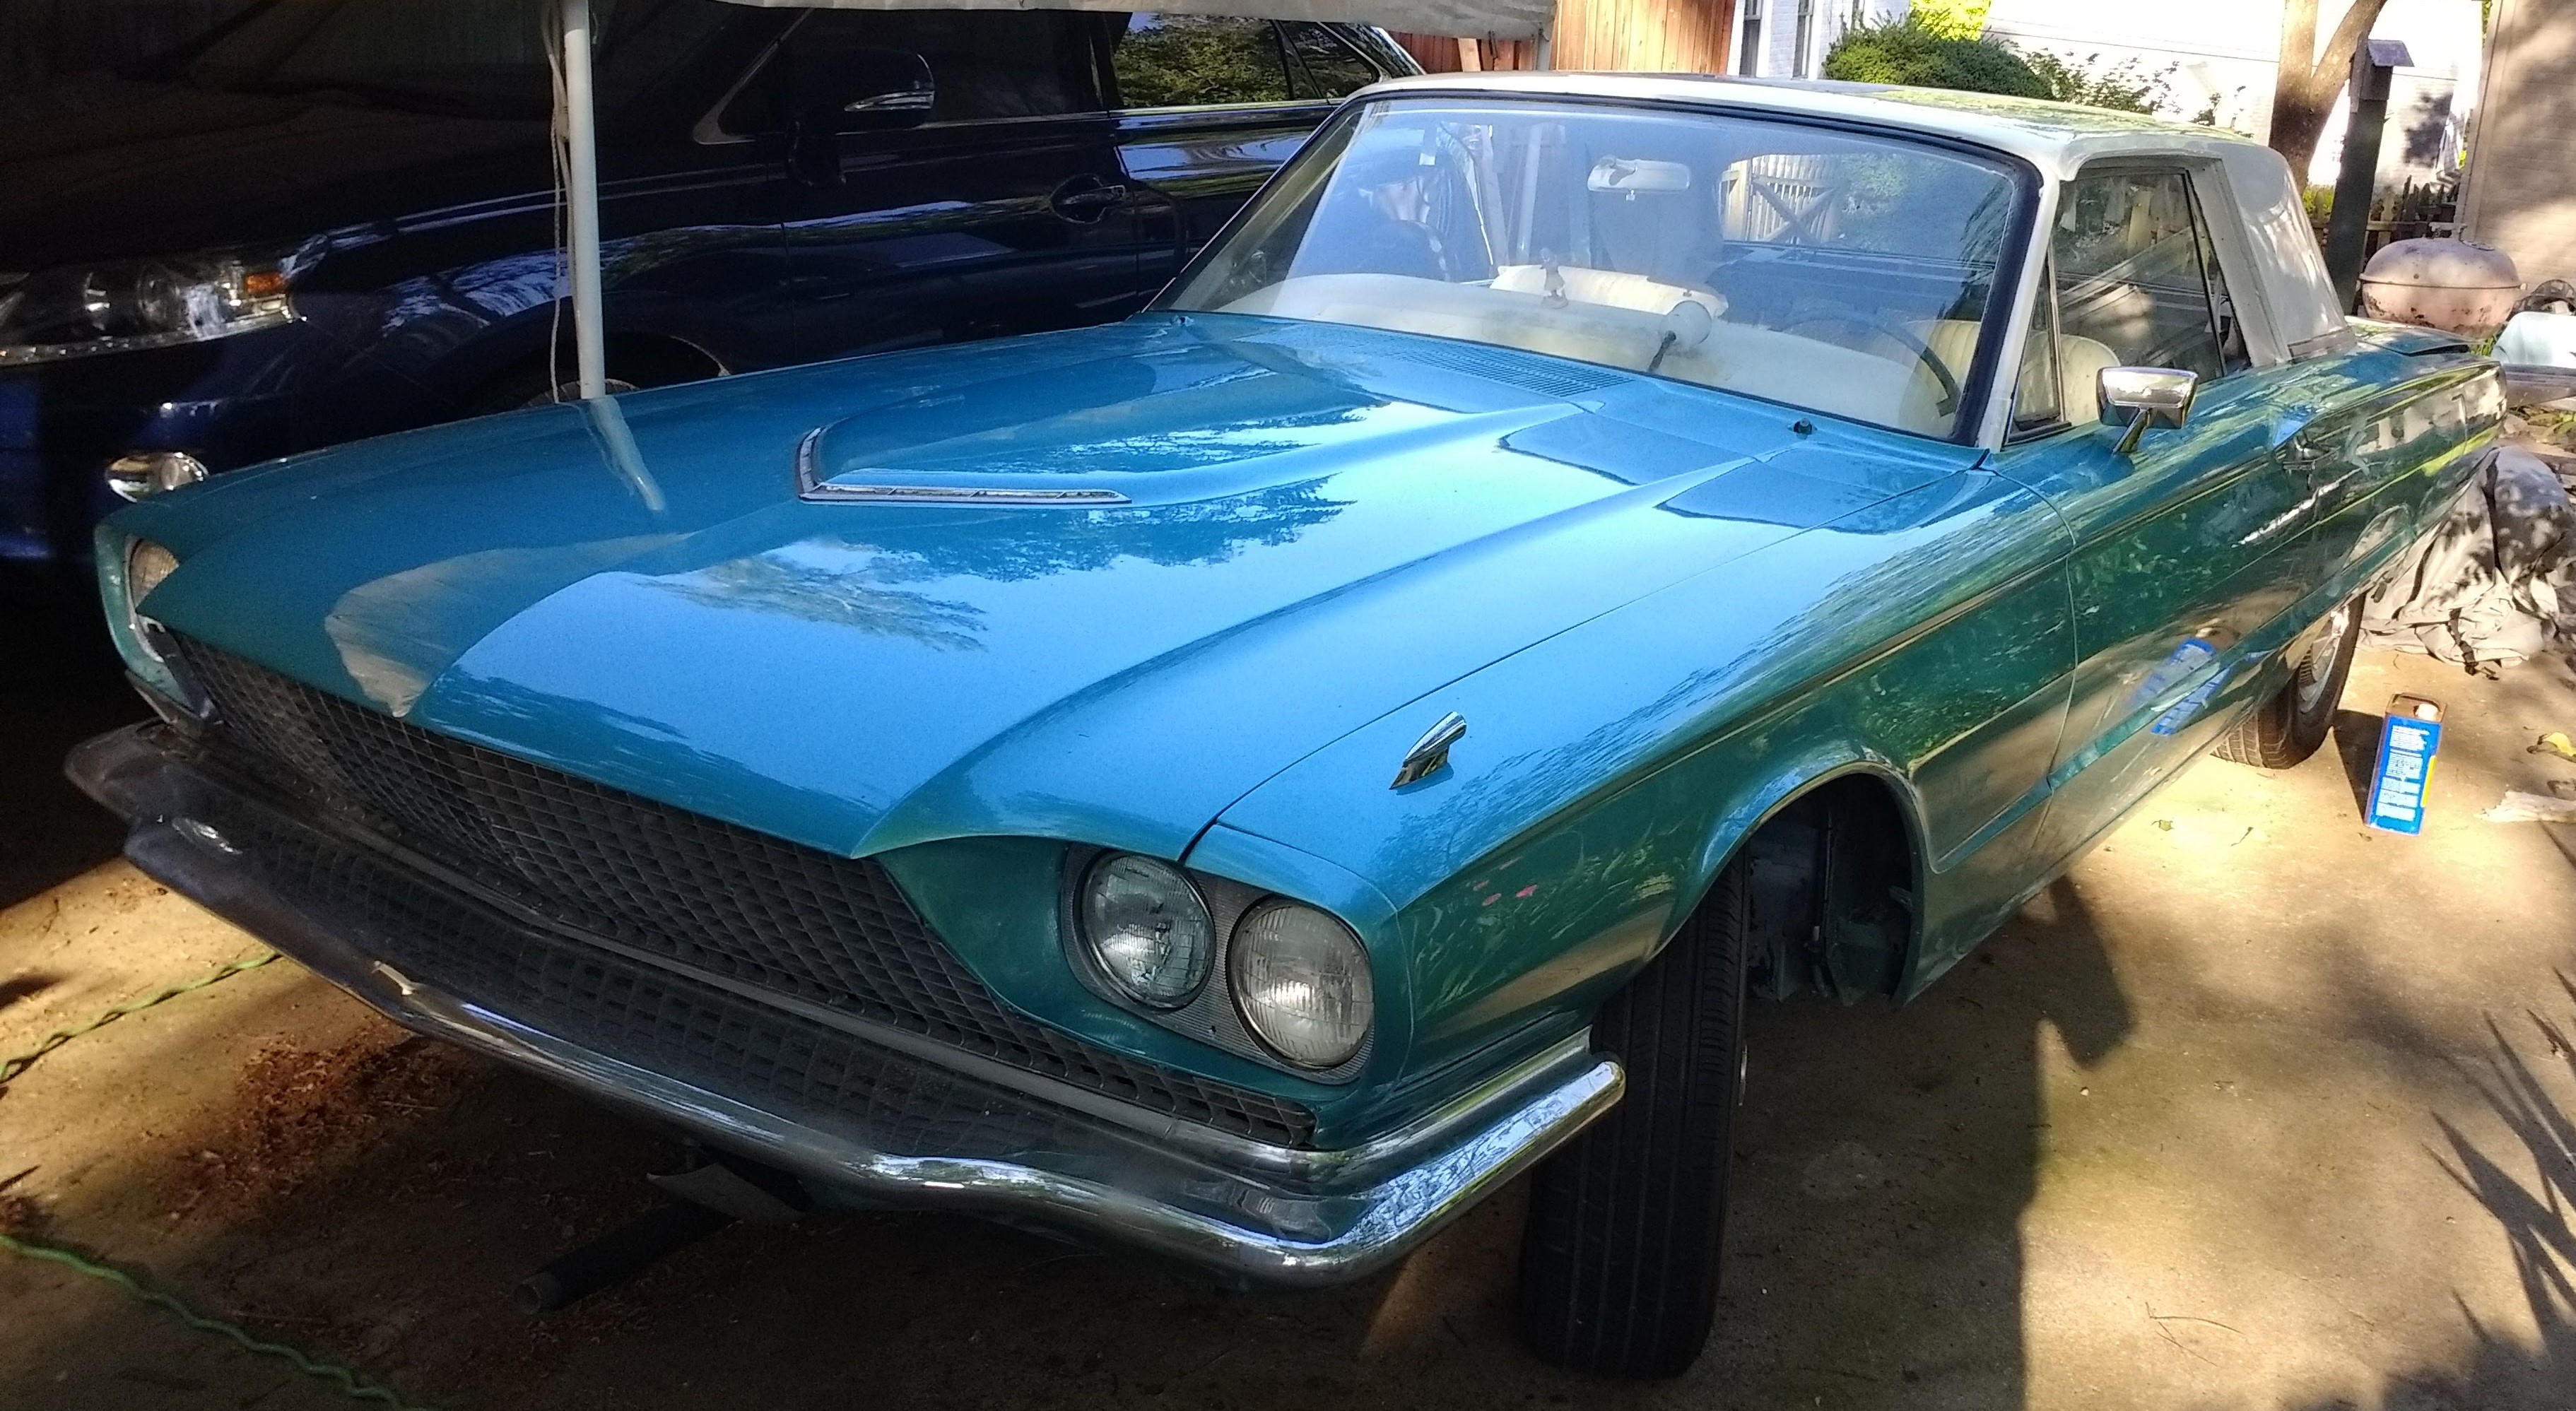
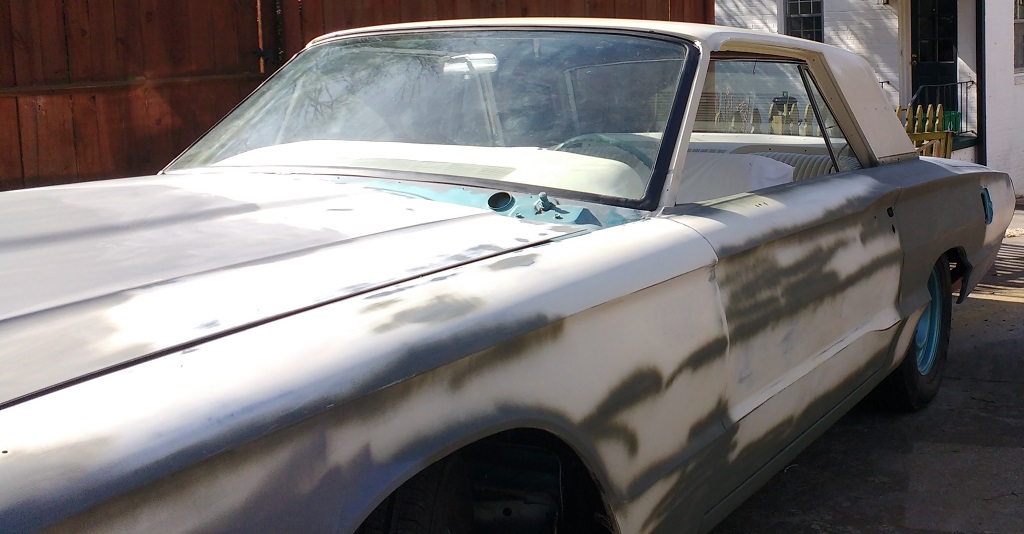
OK, so I’ve been enjoying being able to drive the car with confidence since installing the carburetor and setting the timing correctly. Although the more I think about it, maybe the timing problem was the underlying reason why the EFI would never work. So the thing to do is to reconnect the EFI system and try again. Now that the seasonal heat has begun to ease (summer in the SC Low Country being somewhat intense), it’s a good time for working in my semi-open garage. The only obstacle to overcome is my innate laziness.
There are also several other issues that need attention.
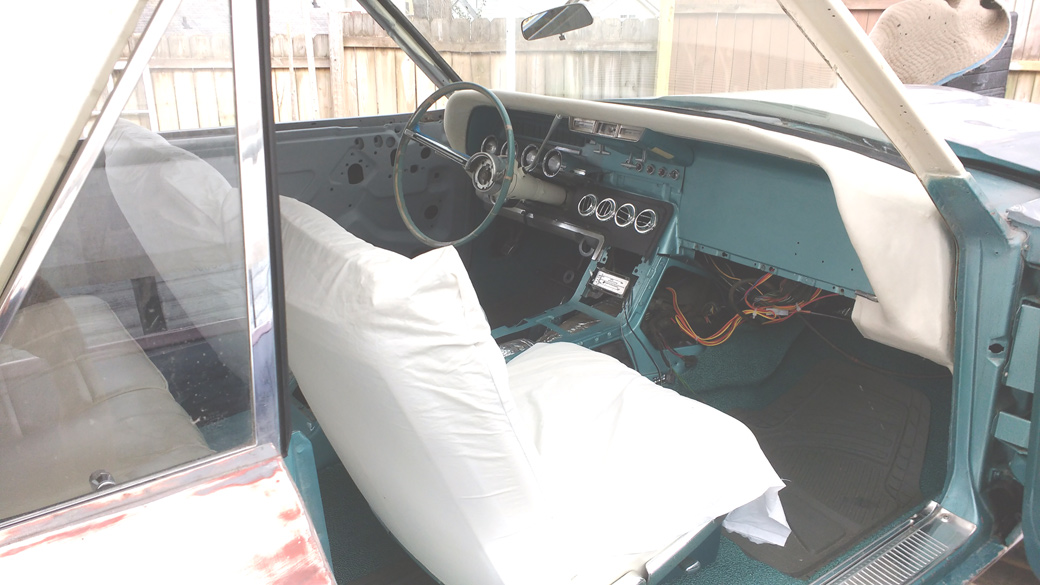
- The push-away steering column needs to be brought back to working order. This model of T-bird features a steering column that can be pushed to the right (when in PARK) to make it easier to get in and out of the driver’s bucket seat. But in order to get at the steering column a dash panel has to be removed, which is held in place by the headlight switch, which requires a small hand to reach under the dash and press a release button (it’s very difficult).
- The locking center console (there’s no dash glove box) needs to be reassembled.
- The car needs a stereo system installed where the old push button radio was. Dash and rear panel speakers are already there, but additional speakers need to be wired in.
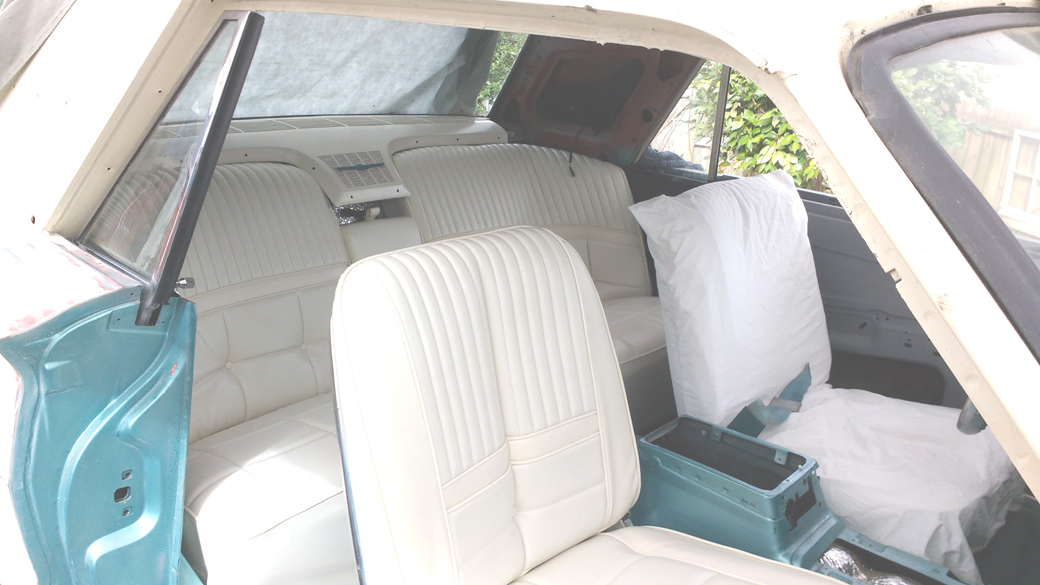
- There are other items, mostly cosmetic, to be addressed.
Cheers,
Thunder Guy