I can be an incredible cheapskate, proud of the ability to stretch a dollar until it screams for mercy. No doubt this hubris is connected to that streak of independent self-reliance bred into the American psyche — we all want to be Henry Fords. So all too often, at least in my case, make-or-buy and DIY-or-outsource decisions tend toward over-optimistic weighting of the make/DIY side of the equation, sometimes resulting in wasted effort and increased costs.
Case in point. After acquiring the T-bird, it stayed parked on our street for several weeks while I tried to figure out how to get a 4400 pound car up a steep driveway, 100+ feet at a 10° incline. We tried towing it up with the minivan — not enough power. Next we purchased a 5000 lb. winch and mounted it to the seat supports in the minivan, with the cable coming out the opened rear gate. The plan was to pull the T-bird up 20 feet, chock it, move the van up the driveway, pull the T-bird up another 20 feet, etc. Although tedious, that was working out fine. Until…
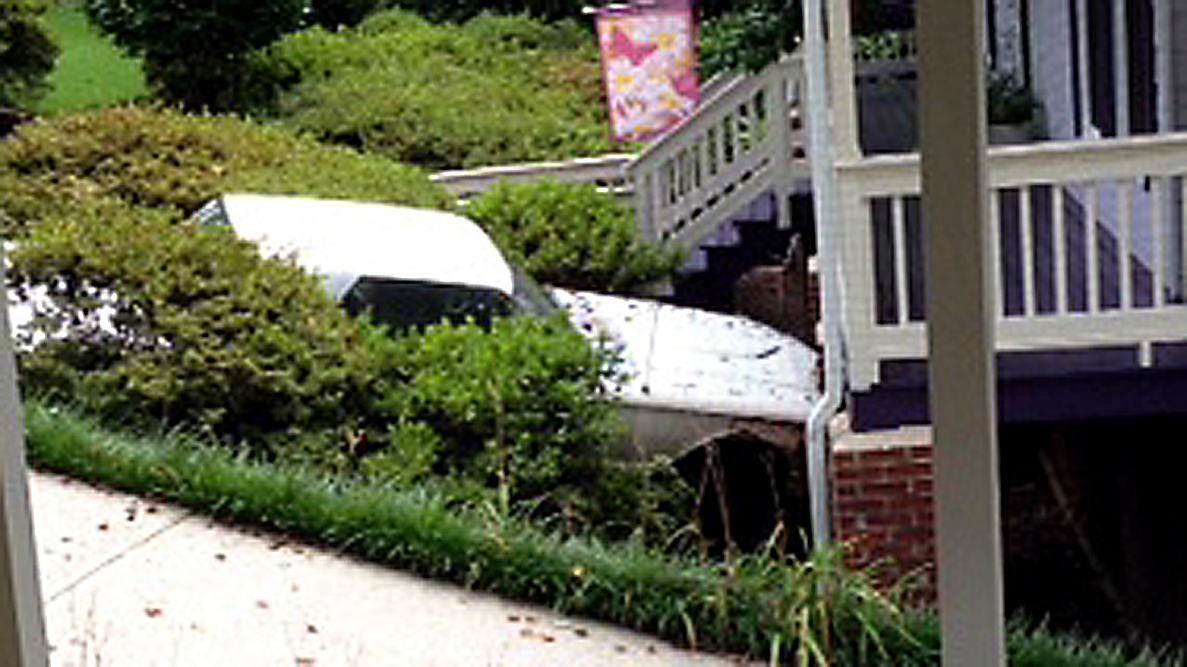
Mere inches from a tragic outcome
In order to reposition the van the winch cable needed to be released. This time though, the T-bird jumped its chocks and proceeded to roll down the driveway. In desperation, I futilely grabbed the cable and hung on. At the end of the spool the escaping T-bird yanked the cable off the winch. Still hanging on, the car pulled me across the street onto the neighbor’s immaculate lawn, crashed through his azaleas, and came to rest one excruciating inch short of his house. In shock, I fell to my knees and pounded the ground in humiliation and frustration.
Thankfully, the neighbor was not at home, thereby avoiding the inevitable drama, potentially complicated by police involvement. I called for a tow truck and after several hours work (and one snapped tow cable) we were able to drag the T-bird free and up the driveway. I left the neighbor a note claiming responsibility for the landscape damage and humbly promising to pay whatever it cost to repair. Surprisingly, he reacted with amused aplomb and forgiveness. God bless him.
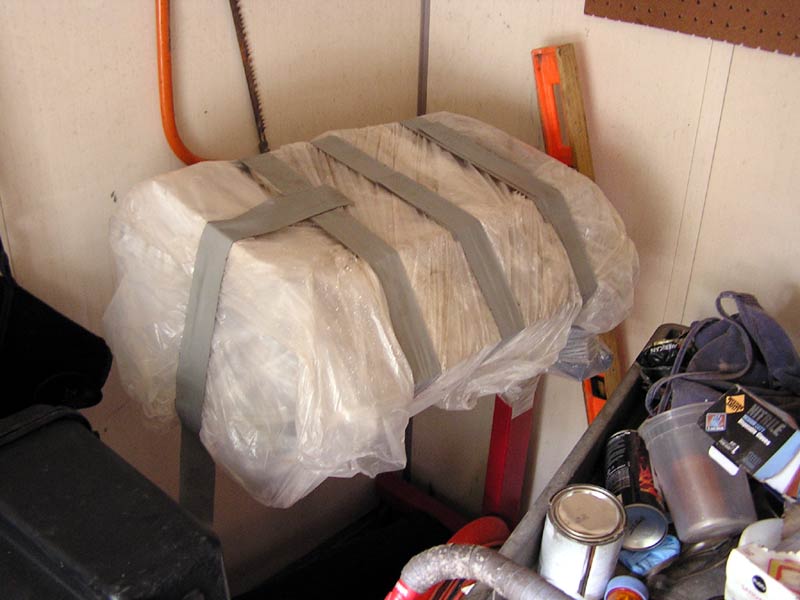
 Fast forward a few months. After removing the engine from the car I noticed that the front stabilizer bar (sway bar) was not straight. It appeared to have been bent after crashing through the neighbor’s azaleas. A local suspension shop tried to bend it back without breaking it but the result was not satisfactory. In order to bend the bar properly it needed to be heated to a malleable temperature. Blacksmiths have forges, and I found one willing to process the bar. The meticulous blacksmith asked if I had a mechanical drawing for the bar.
Now, I had assumed the bar to be bilaterally symmetrical, so correcting it should have been a matter of making the right side a mirror image of the left side. A small inaccuracy could be adjusted out during front end alignment.
But no, I didn’t have a mechanical drawing. More research.
Readers who have served in the military need not be reminded how an angry sergeant would parse the word assume (as in: ass, [yo]u, me). Here is a drawing of the underside of the T-bird showing the sway bar:
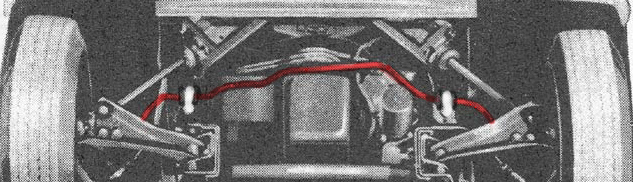
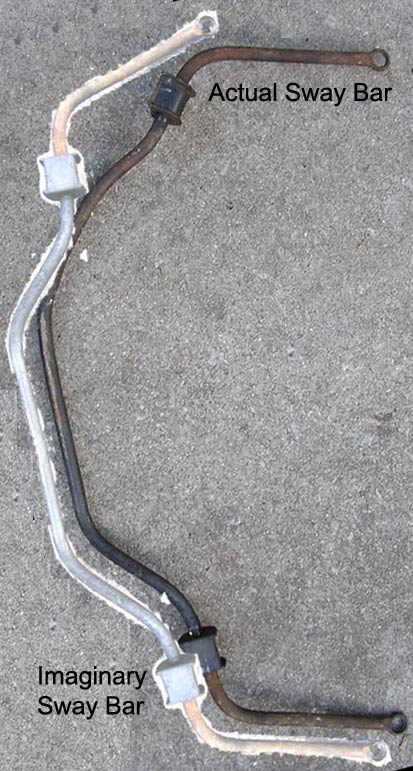
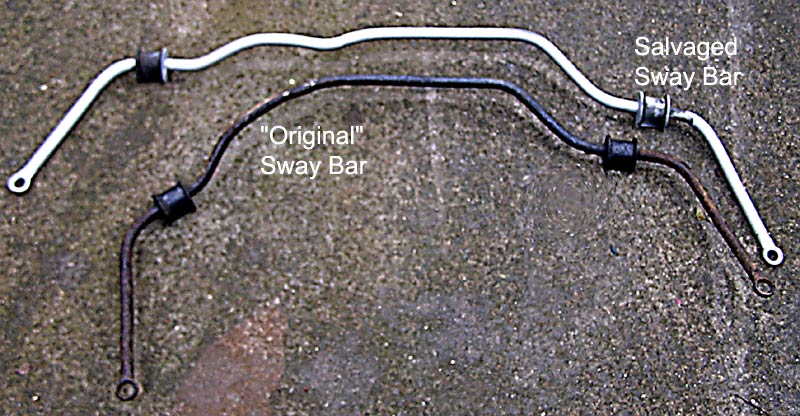
As you can see, it’s not symmetrical at all, the right side curves around the engine oil pan. The question is, did I ask the suspension shop to distort a perfectly good sway bar? And, without a detailed drawing, how can it possibly be corrected? Luckily, I was able to purchase a salvaged sway bar on eBay. Here is the salvaged bar in comparison to the original.
In summary…
1 T-bird (factor in 1 knucklehead) = $(winch+tow truck+landscaping+suspension shop+new bar)
Cheers, y’all!